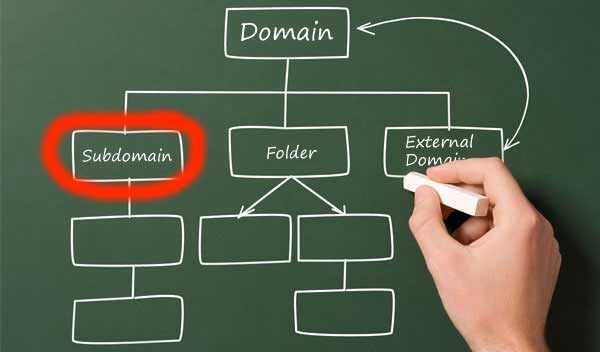
Managing a large website is cumbersome and having too many in a single section increases complexity of managing the site. Subdomains are great way to organize the website into order by creating small sites within your web domain. For example a separate sub-site for a WordPress blog, a separate section for e-commerce store.
For dedicated server you can access your control panel by entering this url path in your web browser address bar: https://IPADDRESS:9999/
Next enter your server’s username and password which you created earlier when signed up for your server.
Finally click “Login” button.
Note: For admin pages always use https to connect using a secure connection.
Once you entered successfully in the Simple Control Panel, follow these steps to add a new subdomain:
- Click the link that reads “Domains” in order to view all the available domains on this dedicated server. If no domain is listed, you will need to add one before proceeding to a sub-domain set up.
- Click the “Edit” button next to the domain for which you are going to create a sub-domain.
- On the next page scroll to the section that says “Domain Configuration – Subdomain” and then click the “Add Host” button.
- This will load the screen to create your new subdomain, you will need to enter two things:
1- name in “Server name” field
2- directory/ folder path to files for this new sub-site. - Finally click the “Save” button to finalize the changes.